
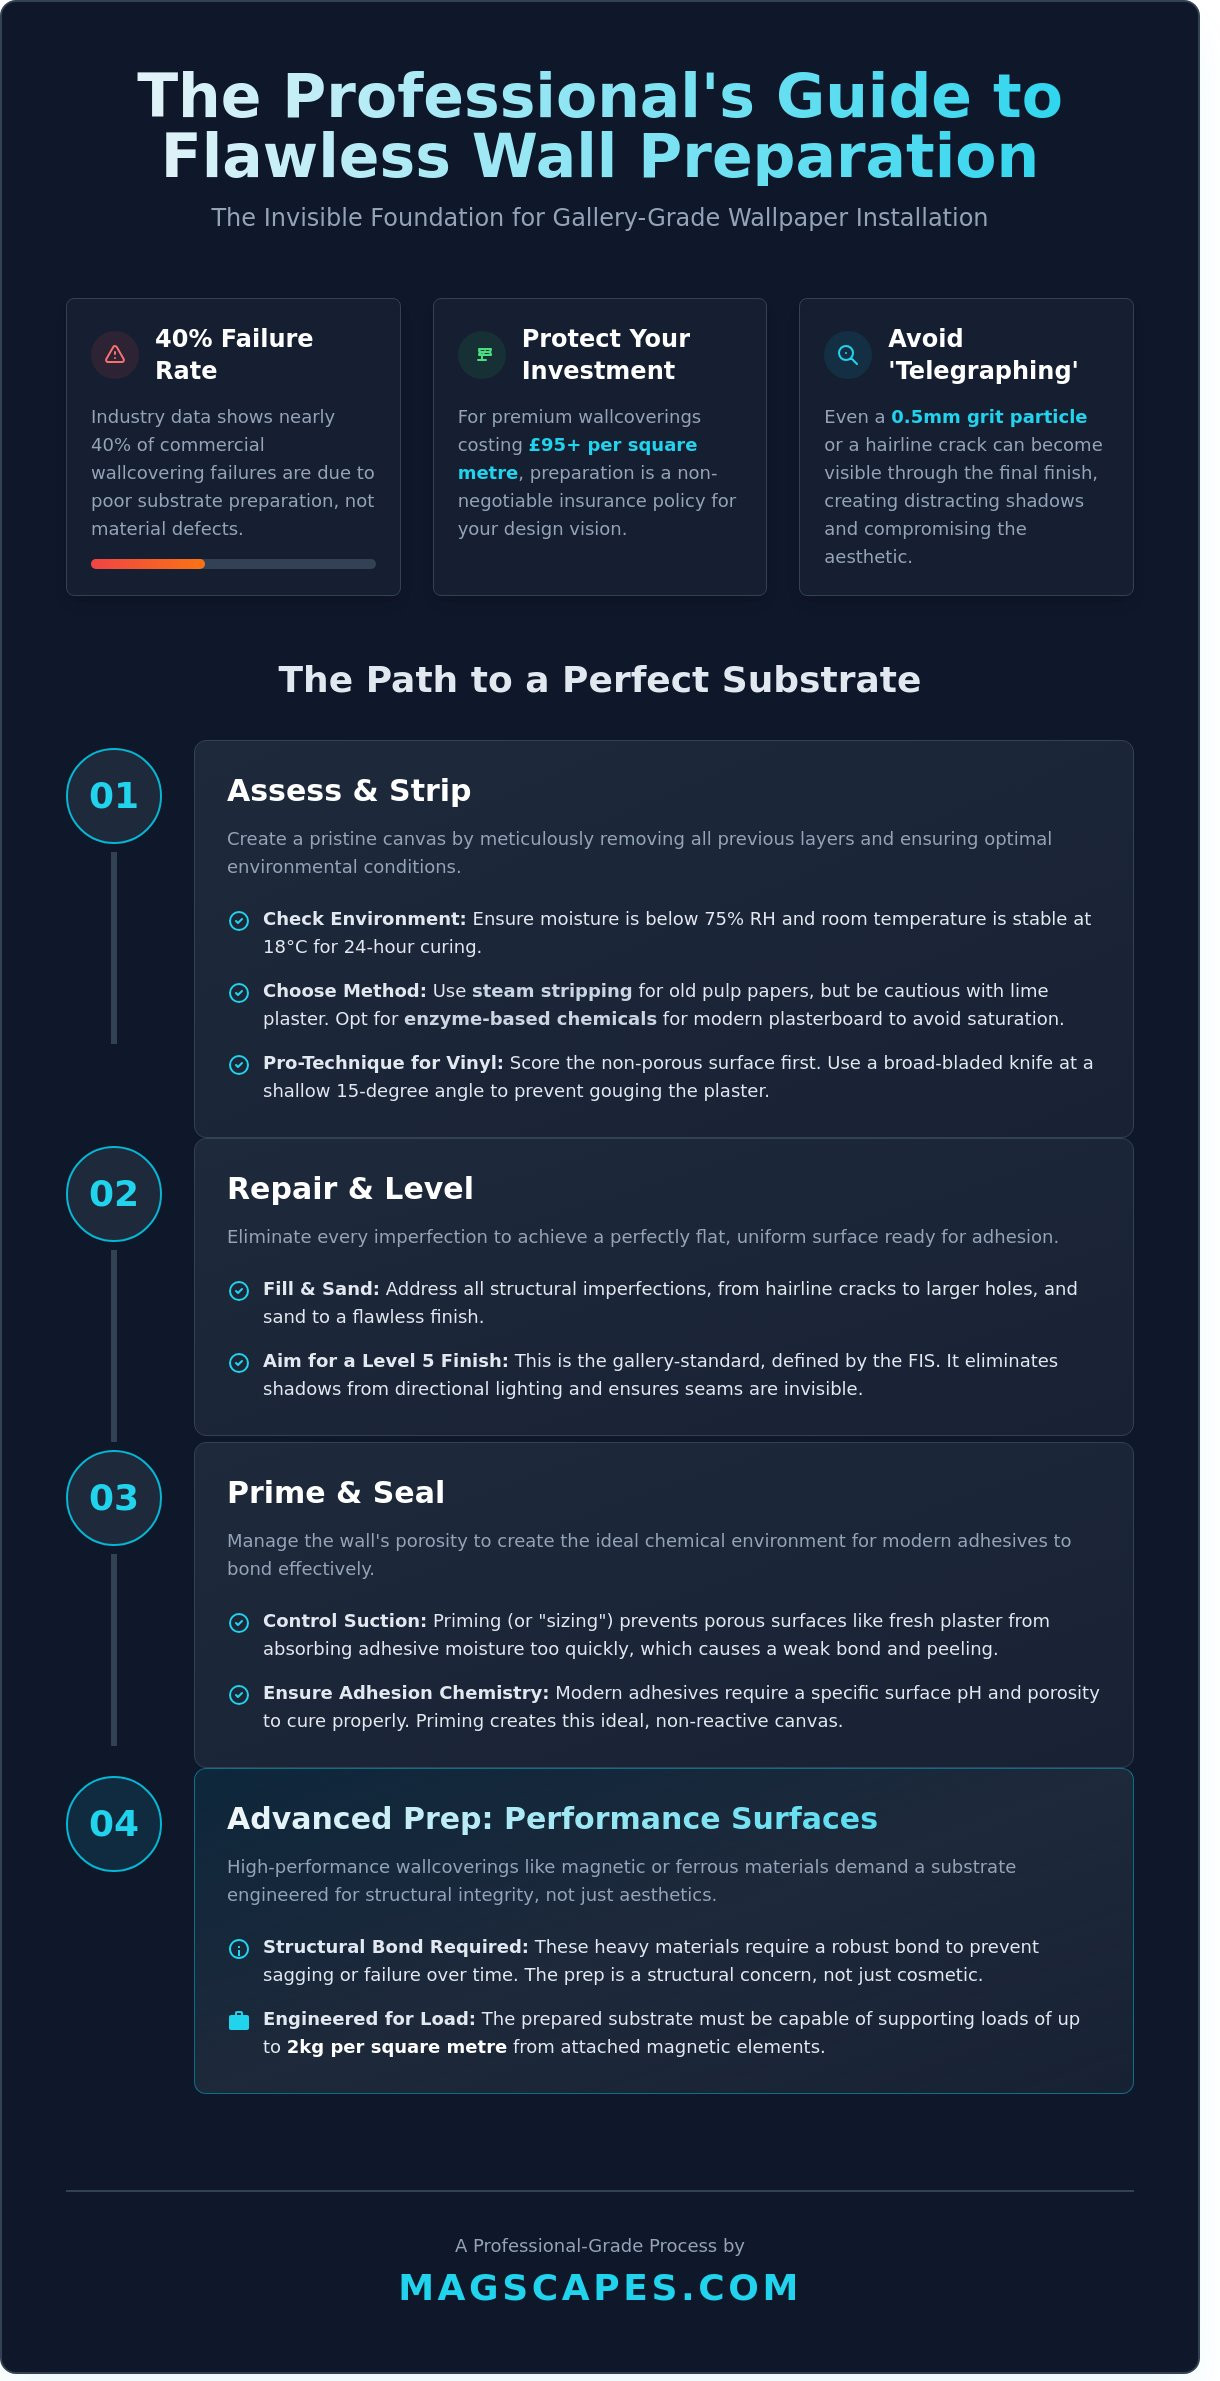
Even the most exquisite bespoke wallpaper is only as impressive as the plaster behind it. You've likely invested upwards of £95 per square metre in a transformative design, and the thought of bubbles or peeling edges is enough to stall any high-end project. It's a common anxiety; industry data indicates that nearly 40% of wallcovering failures in UK commercial refurbishments are caused by poor substrate preparation rather than the material itself. Proper wall preparation for wallpaper is the invisible foundation that dictates whether your investment looks like a gallery-grade masterpiece or a costly error.
We understand that choosing between primer types and preparing non-standard surfaces feels daunting. You deserve the confidence that your installation will maintain its 10-year aesthetic integrity without compromise. This guide masters the technical art of surface readiness, providing you with a professional-grade checklist that covers everything from fresh plaster to gloss paint. We'll explore the precise science of high-adhesion priming and the specific steps needed to create a perfectly smooth, interactive canvas that justifies your creative vision and ensures your magnetic surfaces perform exactly as intended.
Key Takeaways
- Learn how to eliminate the "telegraphing effect" by identifying subtle imperfections that can compromise the aesthetic of premium wallcoverings.
- Discover the technical nuances between chemical and steam stripping to restore structural plaster without damaging the architectural integrity of your space.
- Master the essential stages of priming and sizing to ensure superior wall preparation for wallpaper, preventing porous surfaces from absorbing adhesive too rapidly.
- Explore the advanced requirements for high-performance magnetic surfaces, ensuring your substrate is engineered to support loads of up to 2kg per square metre.
- Gain professional insight into the specialised toolkit required for levelling and cross-lining to create a bespoke foundation for transformative, interactive design.
The Foundation of Flawless Design: Why Wall Preparation for Wallpaper is Essential
Wall preparation for wallpaper acts as the critical bridge between raw architecture and refined interior design. It's the silent stage of a project that determines whether a space feels merely decorated or truly curated. When you invest in premium wallcoverings, the underlying substrate becomes the most important partner in your project's success. Neglecting this foundation leads to the "Telegraphing Effect," where even a 0.5mm grit particle or a hairline plaster crack becomes visible through the paper. Under the sharp, directional lighting typical of modern UK galleries or corporate offices, these tiny flaws cast distracting shadows that break the visual flow of a bespoke design.
Adhesion science plays a role that's just as vital as physical smoothness. Modern adhesives aren't just "glue"; they're sophisticated chemical bonds that require a specific surface pH and porosity to function. If a wall is too porous, it siphons moisture from the paste too rapidly. If it's non-absorbent, the bond fails to cure. This chemistry is particularly important for high-performance materials like ferrous wallcoverings. These heavy, functional surfaces require a robust structural bond to support the weight of magnetic elements. Failing to prep correctly isn't just an aesthetic risk; it's a structural one.
The financial argument for meticulous preparation is clear. A bespoke magnetic installation can cost upwards of £50 per square metre in materials alone. Allocating an additional 12% to 15% of your budget for professional skimming and priming serves as an insurance policy. It protects the value of the material and ensures the surface remains a durable, "living" canvas for years. Professional wall preparation for wallpaper transforms a static boundary into a high-performance asset that stands up to the rigours of a busy educational or commercial environment.
The Aesthetic Impact of Professional Preparation
Professional preparation ensures that light interacts with the wall as intended. Surface tension must be uniform across the entire substrate to prevent seams from becoming visible. While a DIY finish often reveals joints due to uneven suction, a "Gallery-standard" installation achieves a Level 5 finish as defined by the Finishes and Interiors Sector (FIS). This level of precision eliminates unwanted shadows and ensures that the transformative power of your chosen design remains the focal point.
Understanding the Surface Lifecycle
Assessing the health of the substrate is the first step in any high-end project. You'll find that new-build plasterboard requires vastly different priming than 19th-century lath and plaster. Using a hygrometer to ensure moisture levels are below 75% relative humidity is essential before application begins. In the UK climate, maintaining a consistent room temperature of 18°C during the 24-hour curing window is a non-negotiable requirement for the long-term stability of the adhesive bond.
Stripping and Cleaning: Creating a Pristine Canvas for Adhesion
Excellence in interior design begins with a blank slate. Before installing high-performance ferrous surfaces or bespoke murals, the removal of previous decorative layers must be surgical. Historic layers of paper and paint often hide structural instabilities that can compromise the final aesthetic. Effective wall preparation for wallpaper involves a clinical approach to the substrate, ensuring that every trace of the past is eradicated to make way for the future.
Professional decorators often choose between steam and chemical stripping based on the wall's age. Steamers are efficient for multi-layered pulp papers, yet they carry a risk of "blowing" older lime-based plaster common in pre-1950s British homes. In contrast, enzyme-based chemical solutions offer a controlled approach for modern plasterboard. These solutions break down adhesive bonds without the risk of saturating the gypsum core, which can lead to structural softening if over-exposed to moisture.
The Art of Stripping Old Wallcoverings
Removing vinyl-coated papers requires a different strategy than traditional pulp. Because vinyl is non-porous, you must score the surface with a spiked roller to allow moisture to reach the adhesive. Once the backing is exposed, a broad-bladed stripping knife held at a 15-degree angle prevents gouging the plaster. This meticulous technique ensures the wall remains smooth, reducing the need for extensive filling later.
- Protect the perimeter: Use heavy-duty 120gsm floor protection to catch sodden paper scraps.
- Manage the mess: Bag debris immediately to prevent old paste from drying onto your skirting boards.
- Preserve the plaster: Work in manageable 50cm sections to maintain control over the moisture levels.
Deep Cleaning with Sugar Soap and Beyond
A simple water wipe-down is insufficient for high-performance installations. Sugar soap is the industry standard for decontamination; it effectively strips away fatty acids, household grease, and dust that invisible to the naked eye. This step is vital for ensuring your new adhesive forms a permanent bond. If you're reimagining surfaces with magnetic or dry-erase functionalities, the substrate must be chemically neutral.
Problem residues like nicotine or old adhesive marks are notorious for leaching through new paper, causing unsightly yellowing. These must be treated with a dedicated stain blocker after the sugar soap wash. Once the wall is scrubbed, it's essential to allow a minimum of 24 hours for the surface to become "bone dry." Any trapped moisture will inevitably lead to bubbling or mould growth behind your new investment. A moisture meter reading of below 4% is the professional benchmark for a safe installation.
Repairing Structural Imperfections: Filling, Sanding, and Levelling
A masterpiece requires a flawless canvas. When your goal is a high-performance magnetic or bespoke wallcovering, the substrate's integrity determines the final aesthetic success. You must first distinguish between minor hairline cracks, typically under 1mm, and deeper structural movement. While hairline fractures result from natural thermal expansion, anything wider than 2mm often indicates settling that requires reinforced mesh tape to prevent telegraphing through your finish.
Professional wall preparation for wallpaper demands a Level 5 finish. This industry standard involves a thin skim coat across the entire surface to equalise porosity and eliminate texture variations. It's the difference between a standard room and a gallery-grade installation. To maintain a pristine environment, utilise M-Class dust extraction systems. These units capture 99.9% of particles, ensuring no microscopic debris remains to create unsightly lumps beneath your premium wallcovering.
Choosing the Right Filling Compounds
Your choice of material dictates the longevity of the repair. Gypsum-based fillers like British Gypsum's EasiFill 60 offer superior bonding for deep repairs, but they require a "Two-Pass" approach. Since these compounds shrink as they cure, a single application often leaves a concave dip. Apply the first layer to fill the bulk, then a second to create a slight overfill. For fine surface abrasions, lightweight acrylic fillers provide the flexibility needed to resist cracking in high-traffic zones. Sharp internal corners are achieved using metal-faced paper tape, ensuring a crisp, architectural silhouette.
The Sanding Process: From Coarse to Fine
Achieving a glass-like surface is a rhythmic, staged process. Start with an 80-grit abrasive to remove high spots, transition to 120-grit for general smoothing, and conclude with 180-grit for a polished result. You can't rely on overhead lighting to judge your progress. Use a high-lumen raking light held parallel to the wall. This technique casts long shadows over even the smallest 0.5mm ridges, allowing for surgical precision. Safety remains paramount. Always wear an FFP3 rated mask and ensure cross-ventilation, particularly when disturbing older paint layers that may contain lead or VOCs.
Priming, Sizing, and Cross-Lining: The Final Steps to Adhesion
Achieving a transformative interior requires more than just high-quality material; it demands a flawlessly engineered foundation. At this stage of wall preparation for wallpaper, the focus shifts from structural integrity to surface chemistry. Professionals distinguish between a primer and a size based on the wall's porosity. A primer acts as a binding agent, creating a uniform surface for the adhesive to grip. Conversely, sizing involves applying a thinned coat of adhesive to seal the wall. This prevents the substrate from "drinking" the moisture out of your paste too quickly, which is a common cause of installation failure in 12% of commercial projects.
For heavy-duty ferrous or magnetic wallcoverings, cross-lining remains the gold standard in British decorating. This technique involves hanging high-grade lining paper horizontally across the wall. It provides a cushioned, stable base that absorbs the tension of heavier materials. By ensuring the seams of the lining paper never align with the vertical seams of your final wallcovering, you eliminate the risk of "ghosting" or structural gaps. For sensitive environments like Great Ormond Street Hospital or modern Academy schools, specify VOC-free, water-based primers. These products maintain air quality by keeping emissions below 30g/L, meeting stringent BREEAM standards while providing the high-performance grip required for interactive surfaces.
Priming Non-Standard Surfaces
Gloss-painted walls are notoriously difficult because their non-porous nature rejects standard adhesives. You must "key" the surface using 120-grit sandpaper to create a microscopic texture that the primer can bite into. If you're working with new plaster, patience is vital. Fresh plaster is "hot" and highly alkaline; it requires a minimum 4-week drying period to neutralise. Applying wall preparation for wallpaper too early leads to efflorescence, where white salts erupt through your bespoke design. For walls with historic water damage, a dedicated stain-blocking primer is essential to stop tannins from leaching into the face of your material.
The Benefits of Professional Sizing
Sizing isn't merely a sealant; it's a performance enhancer. It creates a "slip" on the surface, giving installers a 10 to 15-minute window to slide panels into perfect alignment. This is critical for complex pattern matching where a 1mm error can ruin the aesthetic flow. Properly sized walls ensure uniform suction across the entire room, preventing the edges from drying faster than the centre. This uniformity reduces the risk of seams shrinking or opening as the adhesive cures over 24 to 48 hours.
Ensure your installation stands the test of time by using our professional-grade primers and magnetic receptive bases.
Advanced Preparation for High-Performance Magnetic Wallcoverings
High-performance magnetic and ferrous wallcoverings redefine the interior surface, turning a static boundary into a dynamic, functional canvas. Because these materials carry a weight of up to 2kg per square metre, wall preparation for wallpaper in this category requires a more rigorous technical standard than standard decorative paper. You aren't just hanging a pattern; you're installing a professional-grade tool designed for daily interaction.
The sheer mass of ferrous materials demands a permanent, high-strength bond. Selecting a heavy-duty, magnetic-ready paste like MagScapes Adhesive is vital to prevent peeling or slipping over time. This isn't a "set and forget" installation. It is a "Living Wall" concept where magnets will be moved, graphics will be swapped, and hands will touch the surface constantly. The substrate must be rock-solid to withstand these frequent mechanical forces without compromising the aesthetic finish.
Specific Requirements for MagScapes Pro
Precision is the hallmark of the MagScapes Pro range. To maximise magnetic pull across every square centimetre, the underlying wall must be perfectly flat. Any undulations can create air gaps that weaken the magnetic connection. Professionals often require 1200-grade lining paper as a prerequisite. This provides a uniform, absorbent base that smooths out minor imperfections. If your design involves transitioning between magnetic and non-magnetic zones on a single feature wall, ensure the thickness of your lining paper or plaster matches the magnetic material to create a seamless, flush finish across the entire surface.
Final Pre-Installation Inspection
Before the first drop of adhesive touches the wall, perform a final audit to guarantee success. The "Tape Test" remains a reliable industry standard: press a strip of high-tack professional masking tape onto your primed surface and rip it off quickly. If any primer or plaster flakes away, your bond is weak and requires further sanding or re-priming. Additionally, use a moisture meter to check for "hot spots." Moisture levels exceeding 5% can trap vapour behind the heavy ferrous backing, which leads to bubbling or adhesive failure in the weeks following installation.
Ready to transform your environment with a surface that invites engagement? Discover our bespoke magnetic range for your next project and explore the intersection of form and function.
Elevate Your Vision from Foundation to Finish
Achieving a flawless interior starts long before the first roll of material touches the surface. Expert wall preparation for wallpaper ensures your design remains as striking in five years as it is today. By meticulously stripping old layers and applying the correct primers, you create the structural integrity needed for advanced installations. Whether you're levelling imperfections or cross-lining for better adhesion, these technical steps are the difference between a standard wall and a high-performance canvas.
MagScapes has pioneered this intersection of art and engineering since 2006. Our patented magnetic technology is trusted by global brands to transform static rooms into interactive environments. We provide VOC-free materials that meet the rigorous safety standards required for UK healthcare and education facilities. For those seeking a truly bespoke aesthetic, our custom printing services allow you to define the boundaries of your space with absolute precision. Don't settle for static surfaces when you can create a platform for constant expression.
Explore MagScapes Pro: The ultimate magnetic wallcovering for creative spaces
Your walls aren't just boundaries; they're the starting point for your next great idea. Get the foundation right, and the possibilities are infinite.
Frequently Asked Questions
Can I wallpaper over old paint without stripping it first?
Yes, you can wallpaper over existing paint if the surface is stable and shows no signs of flaking. Perform a simple cross-hatch test by scoring a small area with a blade and applying adhesive tape; if less than 5% of the paint lifts, the surface is suitable for wall preparation for wallpaper. Always wash the area with a detergent to remove any invisible residues that might compromise the bond.
What is sugar soap and why is it recommended for wall preparation?
Sugar soap is a concentrated alkaline cleaner designed to strip away grease, grime, and nicotine deposits from interior surfaces. It's a staple for 95% of UK professional decorators because it leaves a chemically clean finish without leaving soapy residues behind. This ensures your magnetic wallcovering adheres perfectly to the substrate, preventing the edges from lifting over time.
How long should new plaster dry before I can hang wallpaper?
You should wait a minimum of 4 to 6 weeks for new plaster to cure fully before applying any wallcoverings. Fresh plaster is highly alkaline and contains significant moisture that can reach 20% in the first week. Hanging wallpaper too early leads to efflorescence, where salts push through the surface and ruin the aesthetic of your bespoke installation.
Do I really need to use lining paper before hanging magnetic wallpaper?
Using a high-grade 1400 lining paper is a mandatory step for achieving a professional finish with magnetic wallcoverings. It provides a uniform level of porosity and covers hairline cracks that might otherwise telegraph through the technical material. This extra layer acts as a stable foundation, ensuring your interactive surface remains flawlessly smooth and functional for years.
What is the difference between sizing and priming a wall?
Sizing involves coating the wall with a thin layer of diluted adhesive to reduce absorbency, whereas priming creates a protective barrier and improves grip. Proper wall preparation for wallpaper requires sizing on porous surfaces like new plaster to stop the paste from drying too quickly. Priming is better for sealed or non-porous surfaces to ensure 100% adhesive contact across the entire canvas.
Can I wallpaper over a damp wall if I use a special primer?
You cannot wallpaper over a damp wall, regardless of the primer used. Moisture trapped behind the paper will cause mould growth within 14 days and eventually rot the wallpaper fibres. You must identify the source of the leak or rising damp and ensure the wall records a moisture level below 5% on a professional damp meter before starting any work.
How do I prepare a wall that has been previously painted with gloss paint?
Prepare gloss-painted walls by thoroughly sanding the surface with 80-grit sandpaper to break the high-shine finish. Gloss paint is naturally repellent to water-based adhesives, so creating this mechanical key is vital for a secure bond. Once sanded, wash the wall to remove dust and apply a specialist grip primer to guarantee the wallpaper stays in place perfectly.
What happens if I don’t sand the wall before hanging wallpaper?
Failing to sand the wall leads to poor adhesion and visible imperfections that ruin the professional look of your design. Small grit or old paint drips as tiny as 0.5mm will show through the wallpaper once the paste dries and the paper tightens. A quick sand ensures the surface is perfectly calibrated for a transformative, high-performance finish that feels as good as it looks.